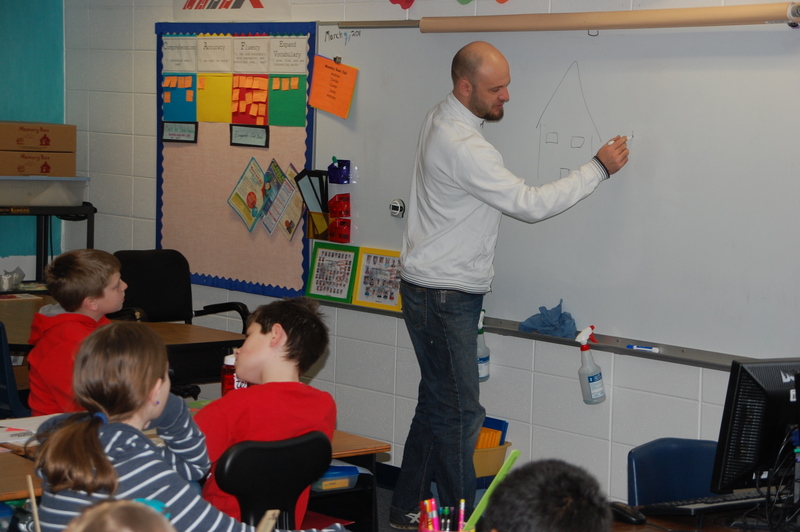
As part of our 1st grade work in math, we are heading into place value, ten pairs, and addition.
So of course, one of the games we will be playing more than once, is Race to 100, a fantastic math game that can be used to teach addition, subtraction, place value and so much more.
As we prepared the game, we realized we needed dice and instead of adding stickers to regular dice, we figured we could have some 3D printed.
Enter my husband and his trusty 3D printer.
Math manipulatives
He printed me 18 individual dice with the numbers: -1, +1, +1, -10- and +10, +10
And that file can be found right here
Need the Race chart templates – right here
Want dice that have -100 and +100, here they are in that same file, just pick the one you want.
And how do you play?
There are many variations of the game, the sky is the limit with this one. I will be playing it using these instructions courtesy of Bard – love that AI.
The Race to 100
Objective:
Be the first player to reach the number 100 on the hundred chart using a single die with the numbers -1, +1, -10, and +10.
Materials:
- A hundred chart or large sheet of paper with the numbers from 1 to 100 written in columns
- One die with the numbers -1, +1, -10, and +10 – for older kids, you can use two dice.
- Game pieces (such as small colorful blocks or tokens) for each player
Set-Up:
- Each player chooses a game piece and places it on the number 1 on the hundred chart.
Gameplay:
- Players take turns rolling the die.
- If the player rolls a -1, their game piece moves backward one space. If this happen on their first turn, they just stay where they are.
- If the player rolls a +1, their game piece moves forward one space.
- If the player rolls a -10, their game piece moves backward ten spaces.
- If the player rolls a +10, their game piece moves forward ten spaces.
- Players cannot move their game piece beyond the number 100. If they roll a number that would cause them to exceed 100, their game piece remains on its current space.
- The first player to reach the number 100 on the hundred chart wins the game!
While I know this will only be relevant to some of you, I figured I would share it in here too. Especially because all it takes is a regular printer and 3D printer and then you have the game.